15 Halloween Photoshoot Ideas to Capture the Spooky Season
The crisp autumn air, the rustling of dried leaves, and the long, stretching shadows of October provide the perfect backdrop for creative photography. Halloween isn’t just for trick-or-treating; it is a prime season for photographers to experiment with atmosphere, lighting, and storytelling. Whether you are a professional looking to build a seasonal portfolio or an enthusiast wanting to level up your social media game, these fifteen photoshoot ideas will help you capture the true essence of the spooky season.
1. Pumpkin Patch
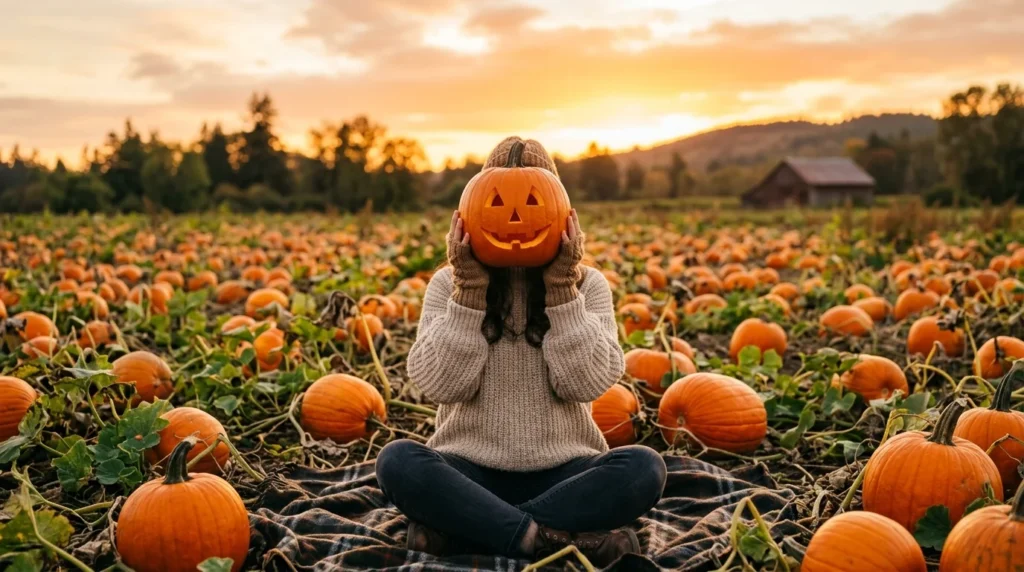
The pumpkin patch is a quintessential autumn staple. To make this shoot stand out, avoid the midday sun and opt for the “golden hour.” The warm, low-angle light enhances the vibrant oranges of the pumpkins and the earthy tones of the soil. For a more “spooky” twist, return to the patch at dusk and use a jack-o’-lantern with a real candle inside. The contrast between the deepening blue of the sky and the flickering orange light inside the pumpkin creates a mesmerizing, cinematic effect.
2. Sheet Ghosts
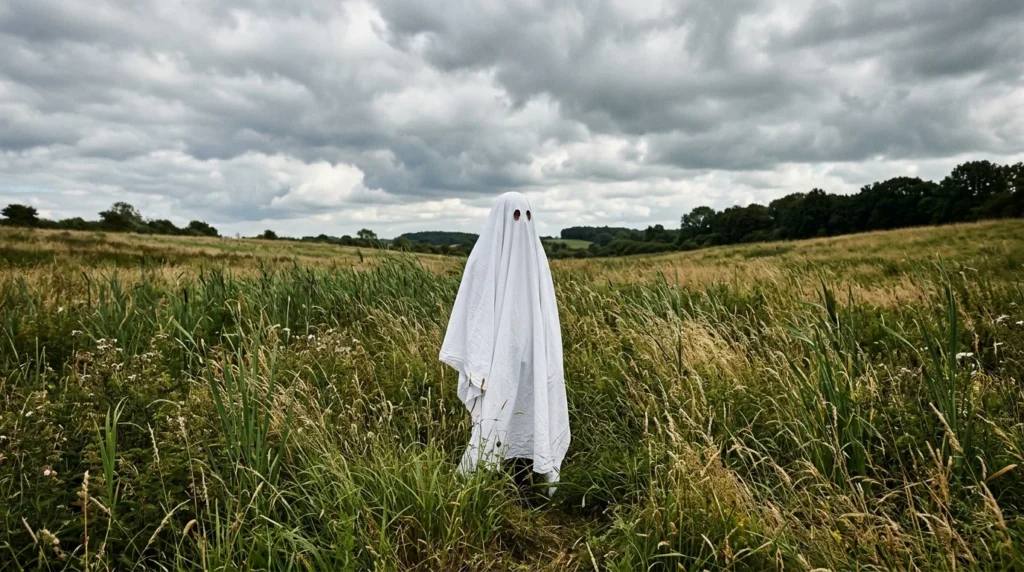
The “Ghost Photoshoot” trend has taken the internet by storm for a reason: it’s simple, nostalgic, and visually striking. Use a crisp white sheet and classic sunglasses over the eye holes for a modern, “cool ghost” vibe. To elevate this concept, take your ghost to unexpected locations—a laundromat, a diner, or a busy city street. The juxtaposition of a traditional supernatural figure in a mundane, everyday setting creates a whimsical yet eerie narrative.
3. Smoke Bombs
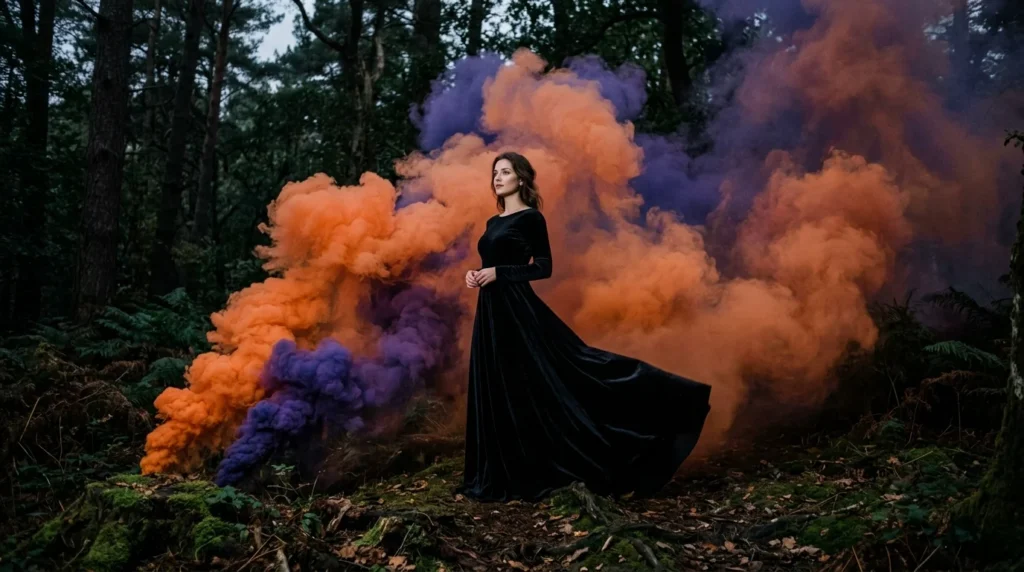
Smoke bombs are an excellent way to add texture and mystery to your Halloween photos. They provide a physical manifestation of “atmosphere.” Use colors like deep purple, neon green, or classic orange to contrast against a dark background. When shooting with smoke, remember to use a fast shutter speed to capture the swirling patterns, and always be mindful of the wind direction to ensure the smoke doesn’t completely obscure your subject’s face.
4. Cauldron Magic
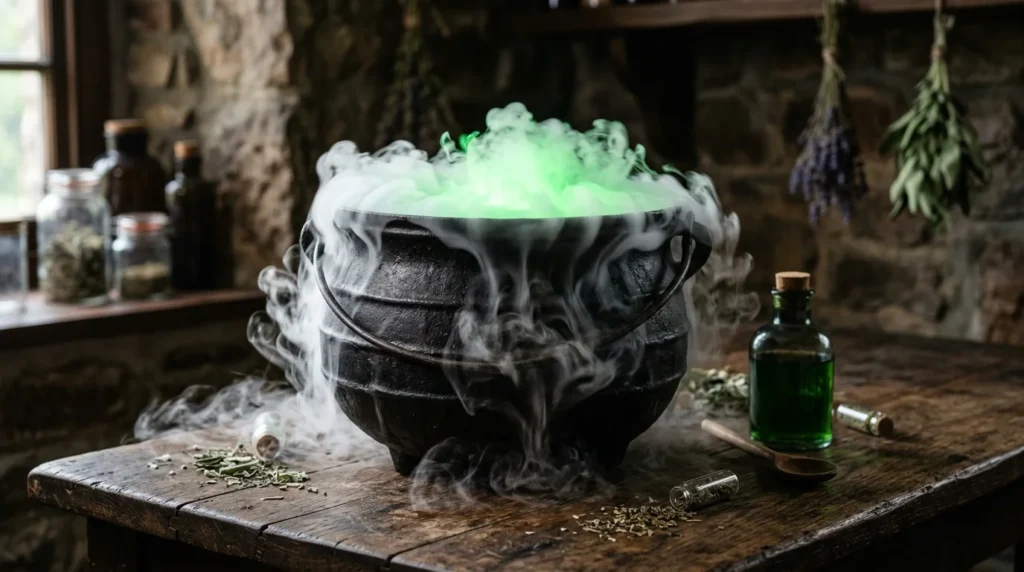
Create a “Witch’s Brew” scene by using a cauldron and dry ice. The heavy, low-hanging fog produced by dry ice is much more effective than a standard fog machine for tabletop or close-up shots. To add a magical glow, place a small, waterproof LED light at the bottom of the cauldron before adding the ice and water. This creates a mystical internal glow that lights up the “witch’s” face as they stir the concoction.
5. Haunted Ruins
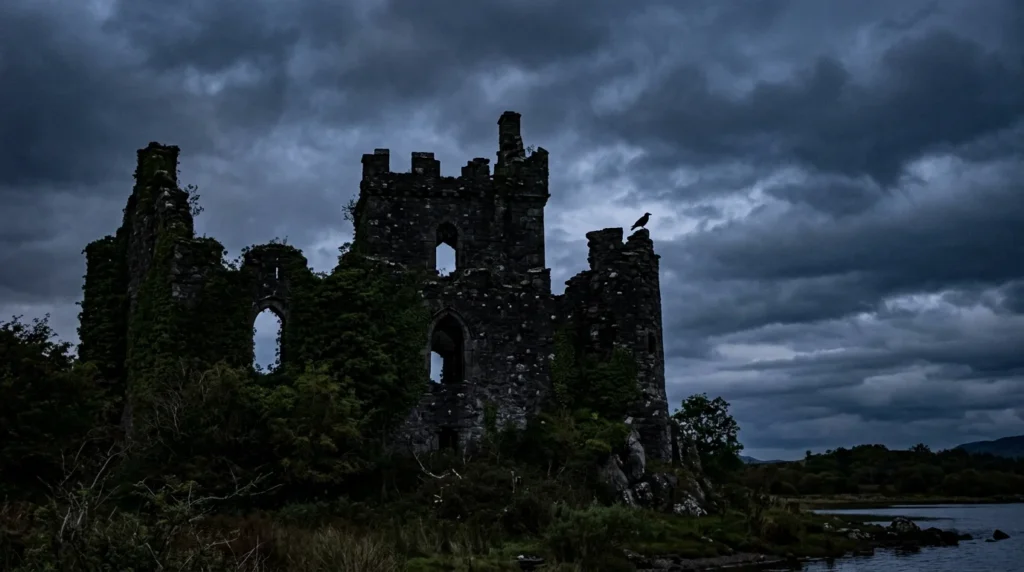
Location scouting is key for a successful Halloween shoot. Look for abandoned buildings, dilapidated barns, or old stone walls. These textures—cracked wood, rusting metal, and peeling paint—provide a rich, tactile background that screams gothic horror. Use a wide-angle lens to capture the scale of the ruins and make the subject look small and vulnerable within the frame.
6. Haunted Mirror
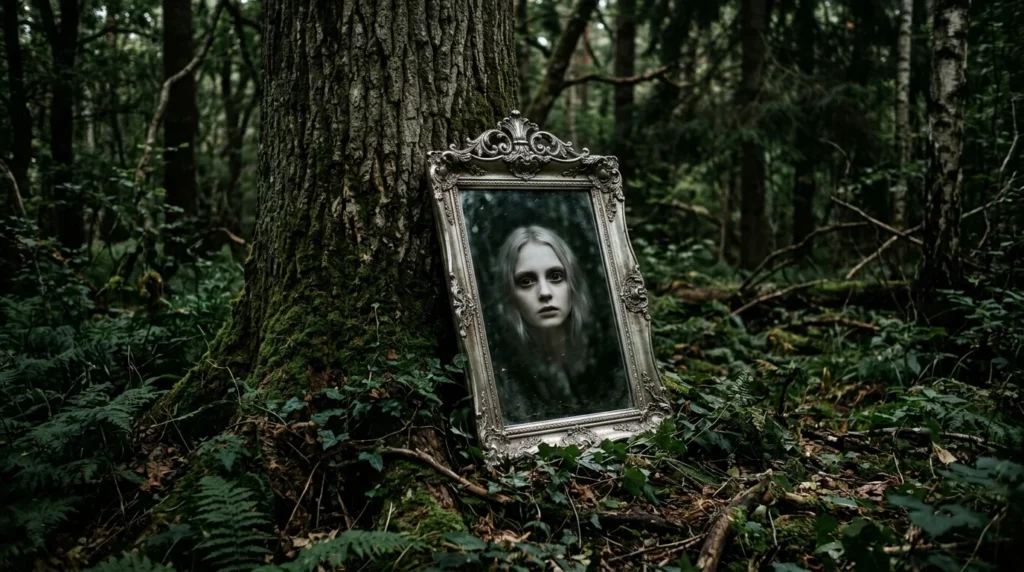
Mirrors are powerful tools for psychological horror. By positioning a mirror in an outdoor setting, you create a “window” into another world. For a truly spooky effect, use a tripod and take two photos: one of the mirror’s reflection and one of the surrounding environment. In post-processing, you can manipulate the reflection to show something that shouldn’t be there, such as a ghostly figure or a different landscape entirely.
7. Gothic Victorian
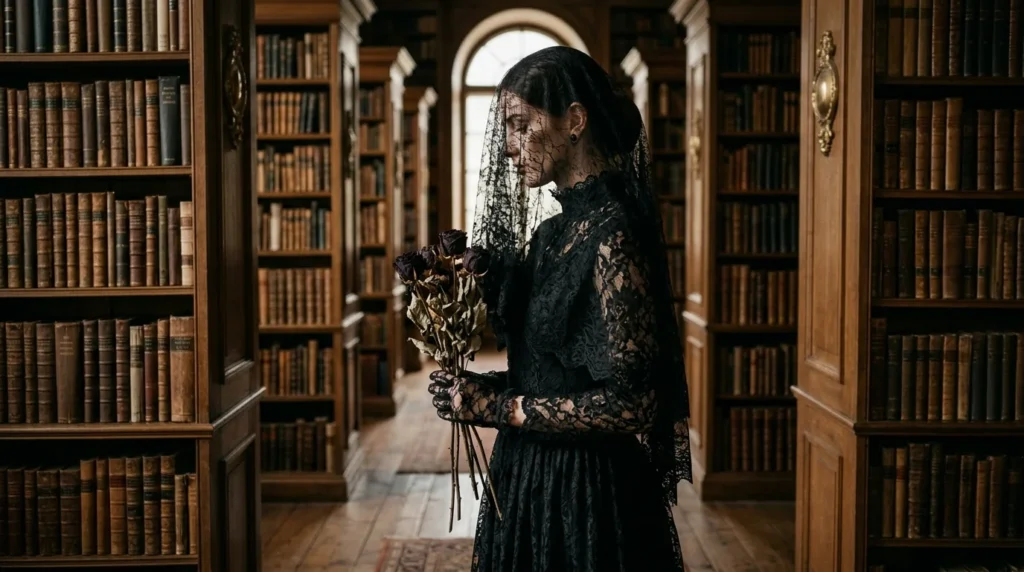
The Victorian era is synonymous with ghost stories. Focus on “memento mori” aesthetics—think heavy velvet, intricate lace, antique jewelry, and dramatic, pale makeup. Use “low-key” lighting, where most of the frame is in shadow, to highlight only the most important details. This style benefits from desaturated colors or even a sepia-toned edit to give it an authentic, 19th-century feel.
8. Levitation
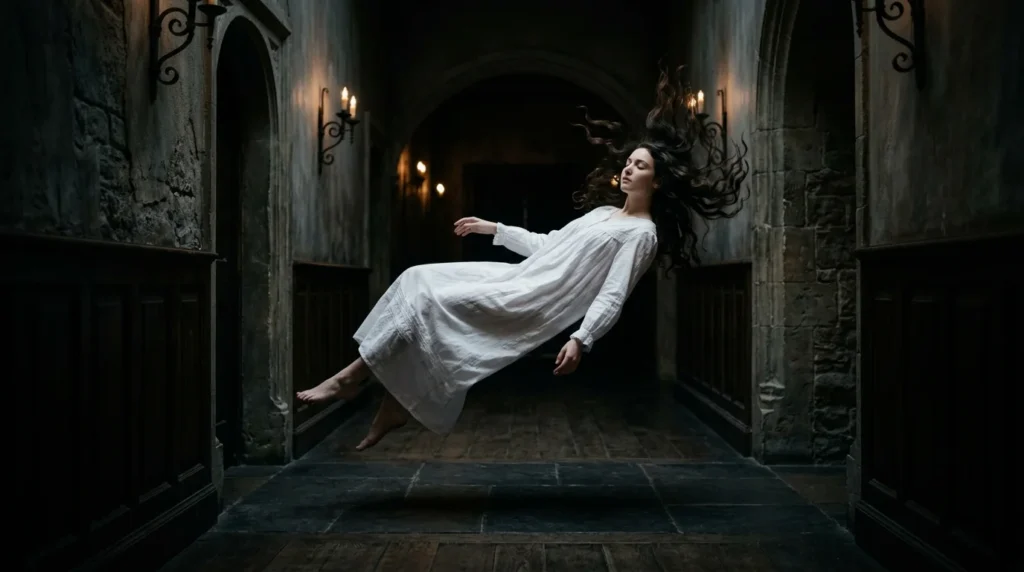
Levitation photography adds a surreal, supernatural element to your Halloween gallery. This is best achieved through “compositing.” Have your subject stand or lie on a stool or ladder, then take a second photo of the background without the subject or the prop. In editing software, you can mask out the stool, leaving your subject suspended in mid-air. Ensure the clothing hangs naturally to sell the illusion of weightlessness.
9. Shadow Play
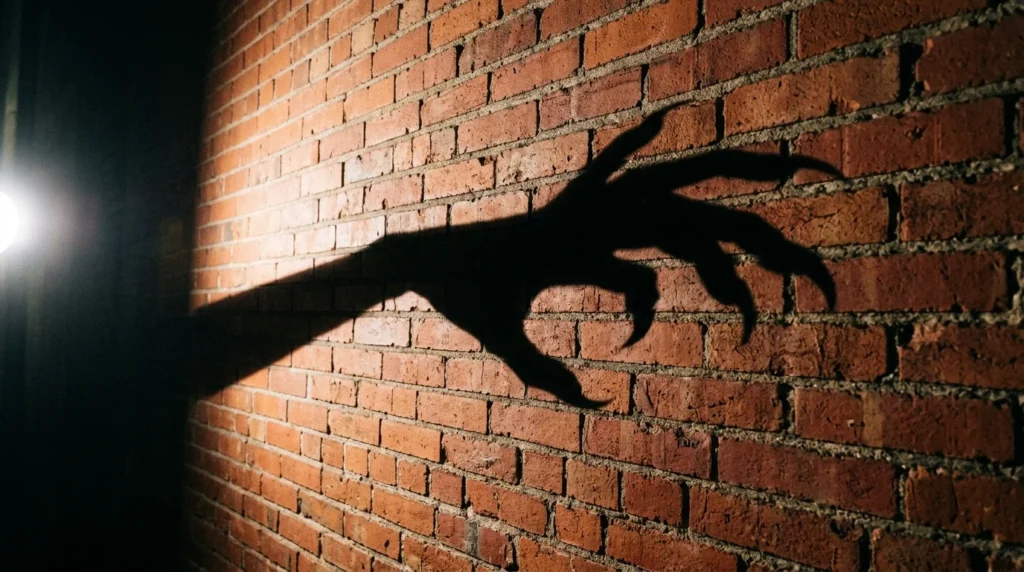
Sometimes, what you don’t see is scarier than what you do. Use a single, harsh light source to cast dramatic shadows against a flat surface. You can use props like capes, masks, or even cardboard cutouts to create monstrous silhouettes that look much more terrifying than the objects themselves. This technique relies heavily on high contrast and “chiaroscuro” lighting.
10. Eerie Woods
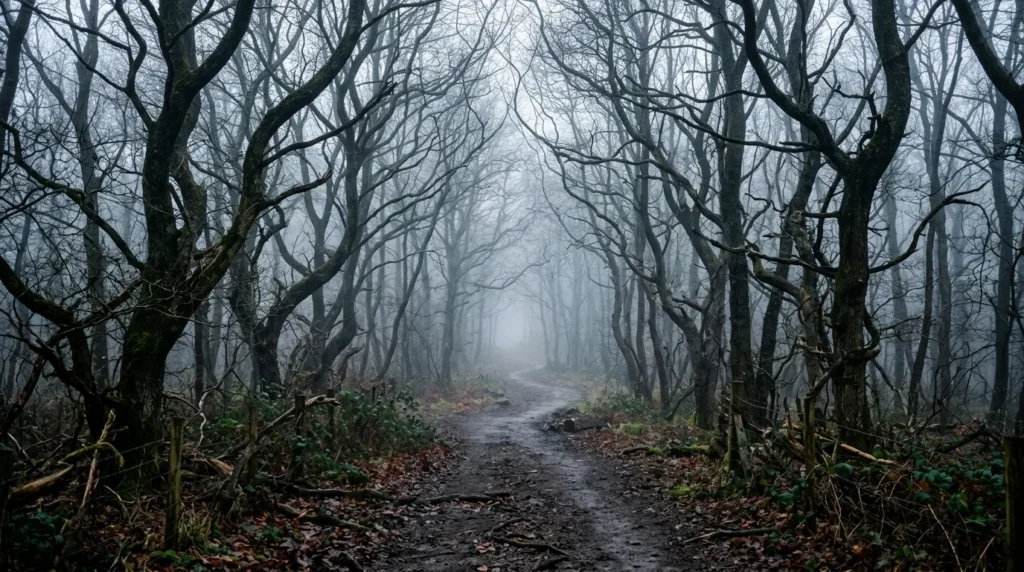
The woods are a classic setting for a reason. To make your forest shots more professional, look for “leading lines”—paths, fallen logs, or rows of trees that draw the viewer’s eye into the depth of the image. Shooting during a foggy morning or just after rainfall can add a layer of natural moodiness. If there is no fog, a portable haze machine can help catch light beams filtering through the canopy.
11. Horror SFX
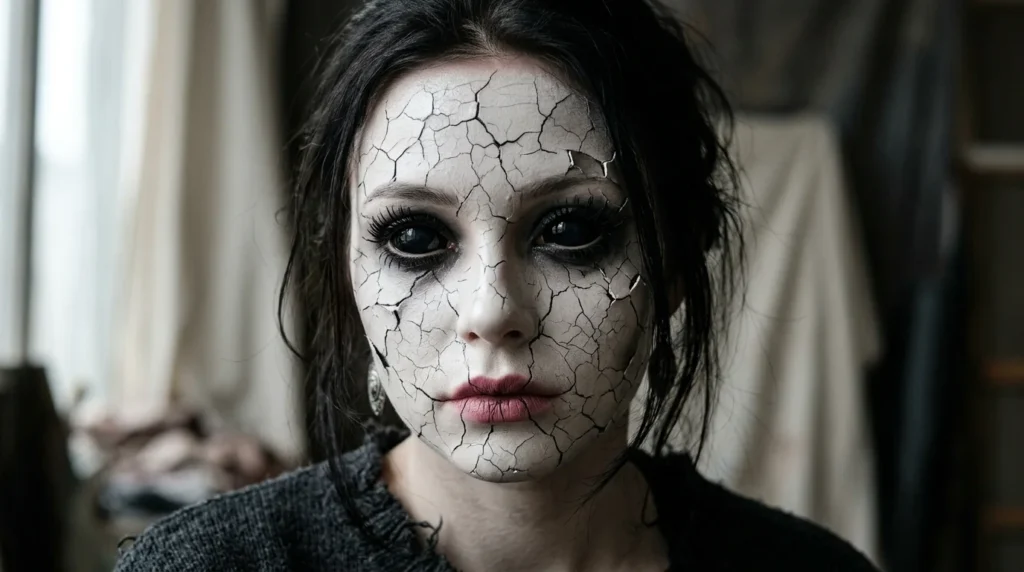
If you have access to a talented makeup artist (or skills of your own), a Special Effects (SFX) shoot can be incredibly impactful. Focus on macro photography—tight shots of the “wounds,” the texture of the “zombie skin,” or the glint of a “vampire fang.” Using a shallow depth of field (low f-stop) will blur the background and keep the viewer’s gaze locked on the gruesome details of the makeup.
12. Graveyard
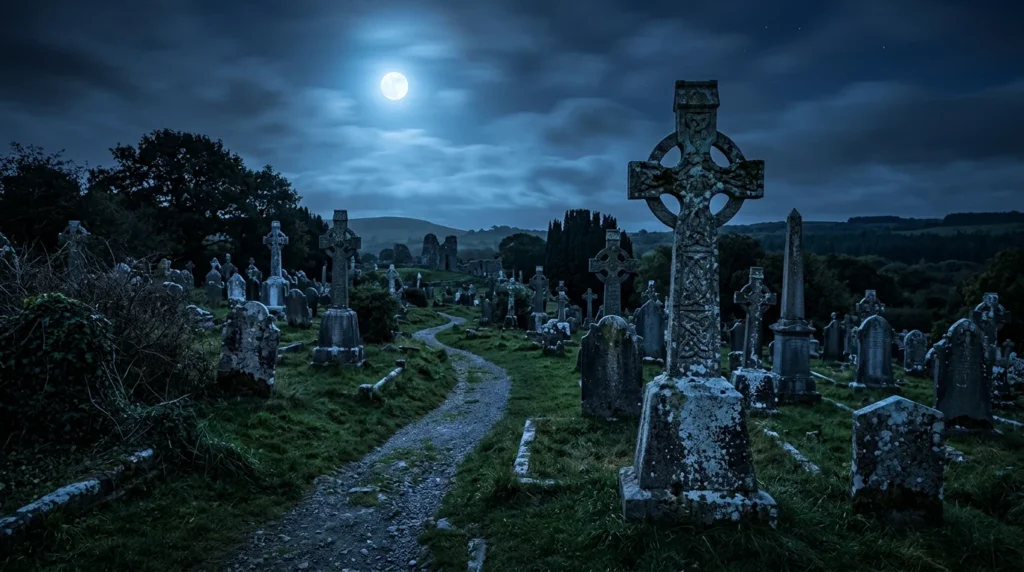
Cemeteries offer a somber, respectful, and undeniably spooky atmosphere. When shooting in a graveyard, always be respectful of the grounds and the history. Aim for long-exposure shots at night to capture the “movement” of the clouds over the headstones. This creates a sense of time passing and adds a ghostly, blurred quality to the sky that complements the stillness of the graves.
13. Neon Skull
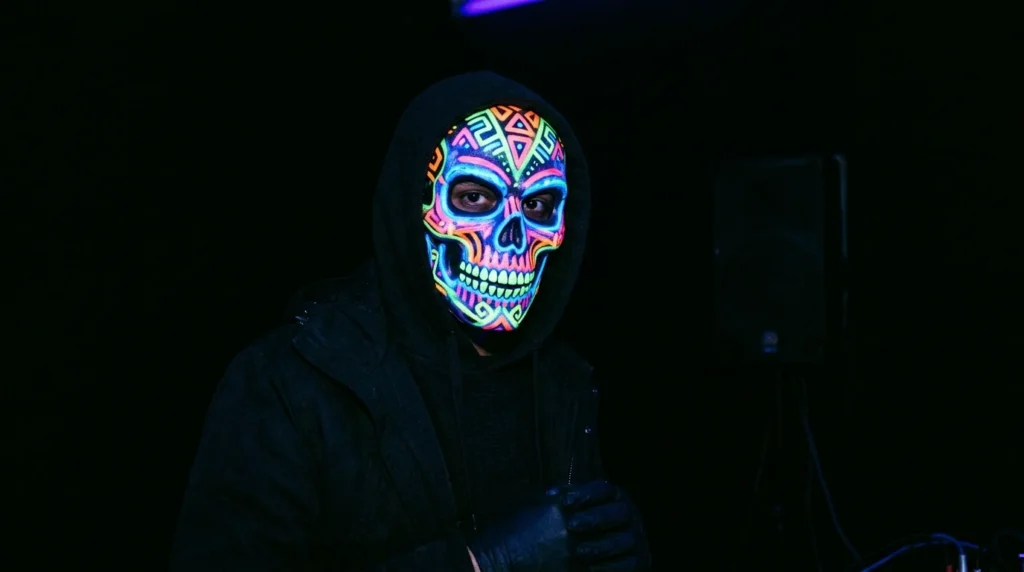
For a modern, “vaporwave” take on Halloween, use UV-reactive paint and a blacklight. This creates a vibrant, high-energy look that stands out from the traditional dark and earthy tones of the season. The neon colors pop against the darkness, making for a striking, graphic image. Experiment with “light painting” using a slow shutter speed to draw glowing trails around your subject.
14. Dark Wings
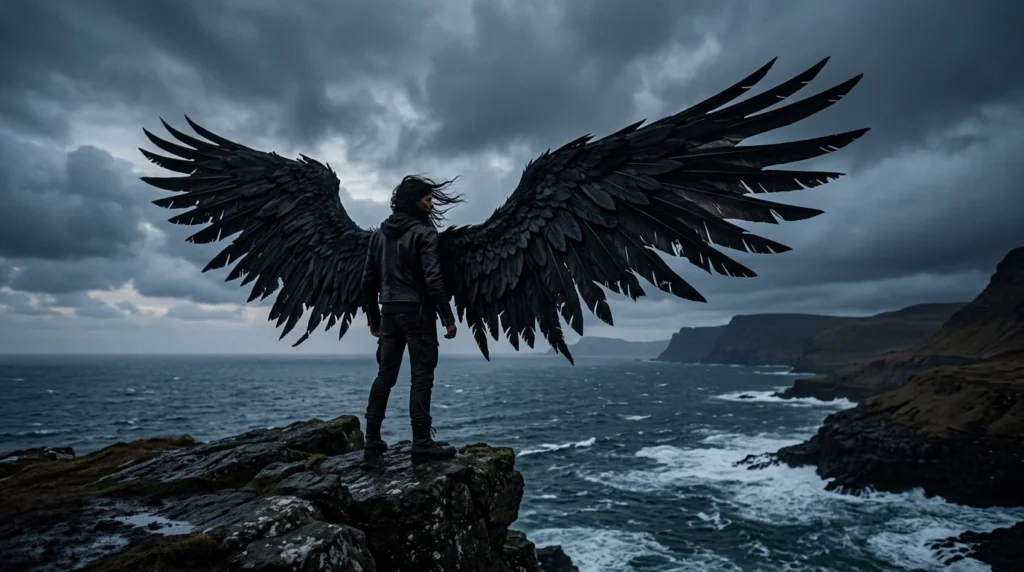
Fallen angels or dark avian creatures are a powerful trope in dark fantasy. Large-scale props like wings require careful composition to ensure they don’t look “clunky.” Use a low camera angle to make the subject look more imposing and powerful. The movement of the feathers in the wind can add a dynamic, lifelike quality to the photo, making the supernatural element feel grounded in reality.
15. Retro Horror
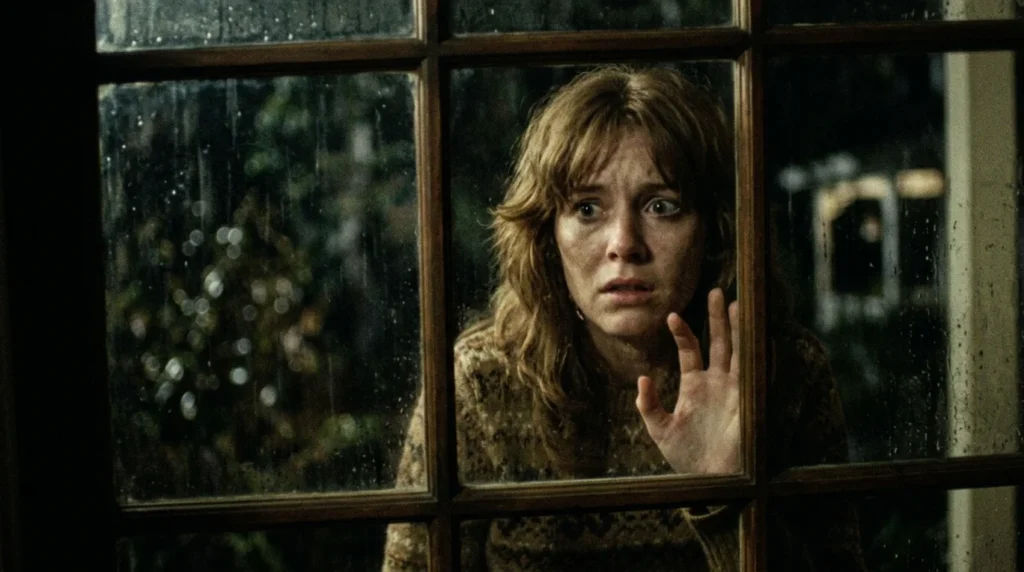
Channel the aesthetics of classic horror cinema. To achieve the “retro” look, use a high ISO to introduce film grain, or apply “light leaks” and “chromatic aberration” in post-production. Pay attention to the color palette—1970s horror often featured muted browns, deep reds, and sickly yellows. Framing your subject through windows or doorframes (the “voyeur” shot) adds to the suspense and makes the viewer feel like they are watching a scene unfold in a movie.