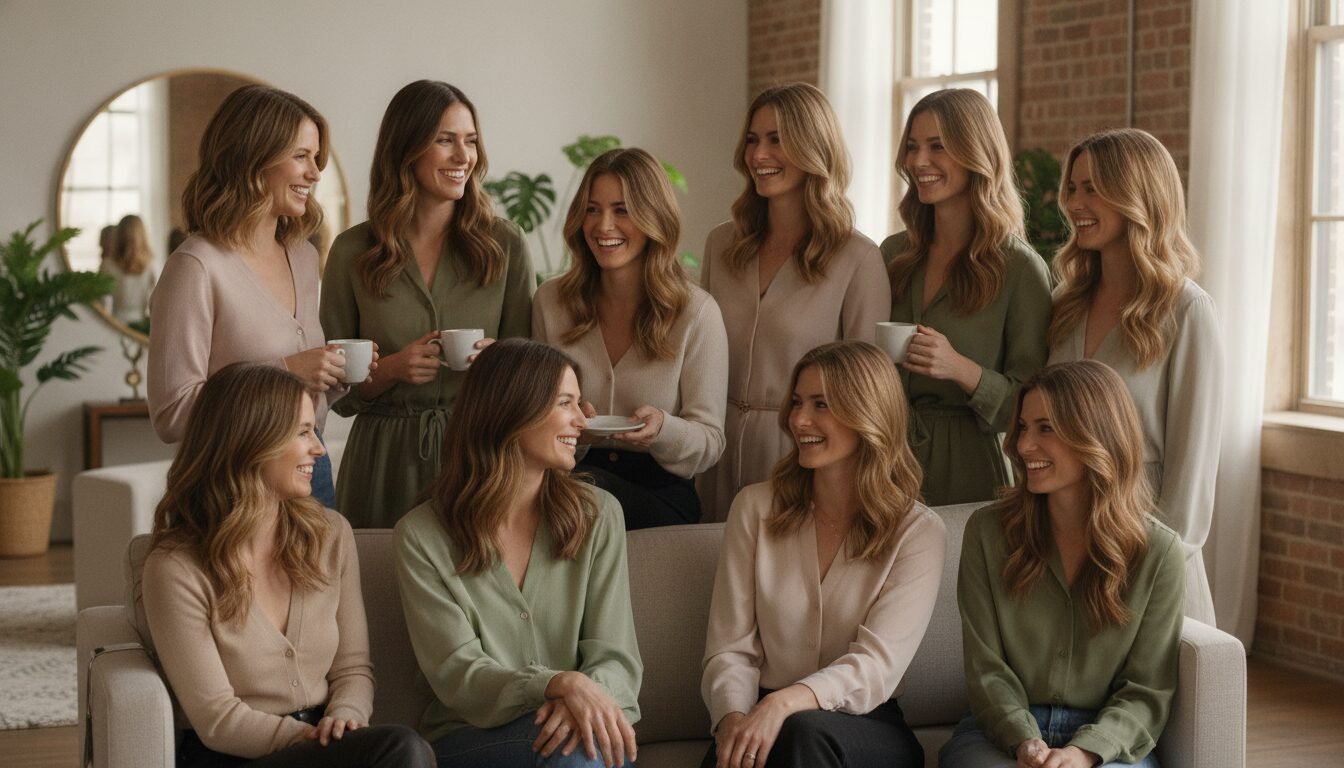
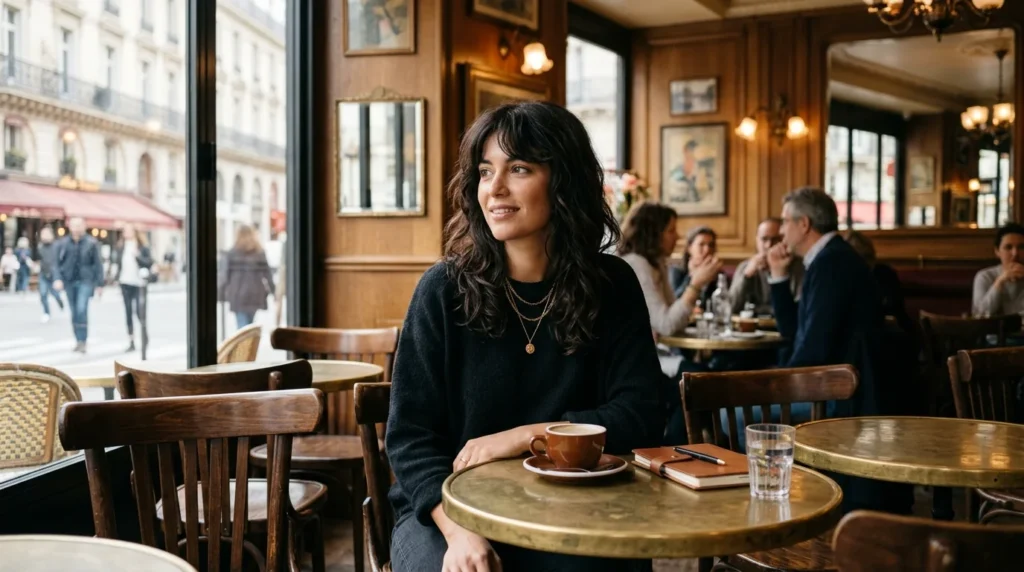
Mid-length hair is often called the “sweet spot” of hairstyling. It is long enough to carry weight and drama, yet short enough to manage without spending hours in front of the mirror. However, the secret to making this length truly shine lies in the blowout. A great blowout provides more than just dryness; it offers shape, movement, and that “expensive” finish that can elevate a simple white t-shirt and jeans to a high-fashion statement.
If you are looking to refresh your look without a trip to the colorist, these ten mid-length blowout styles offer everything from retro glamour to modern, lived-in texture.
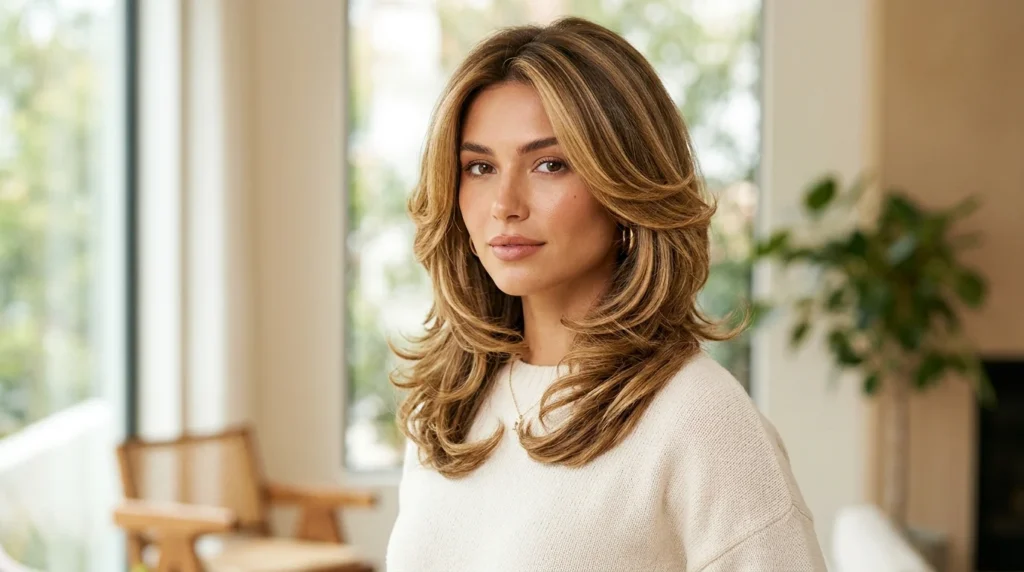
1. Classic Volume
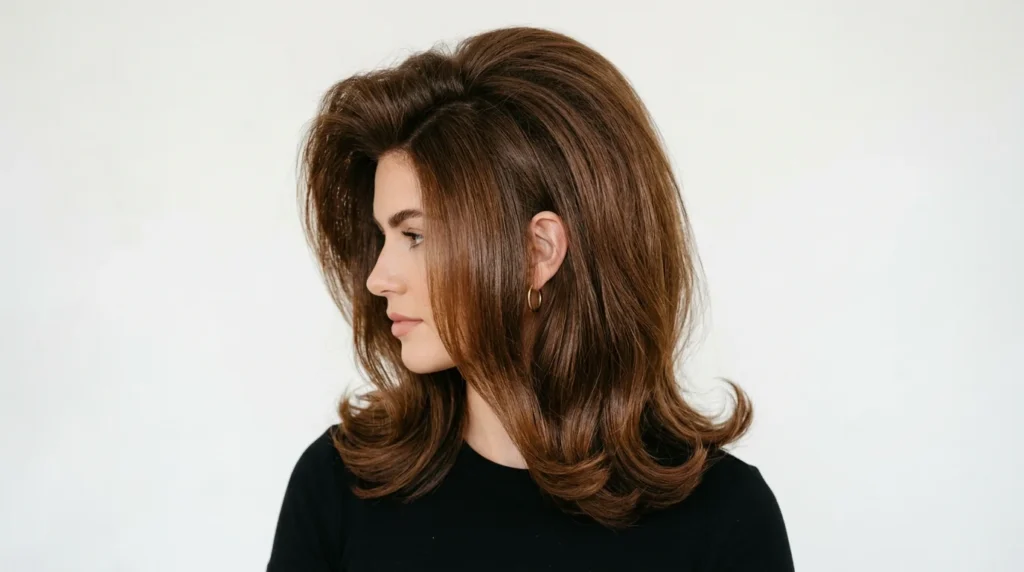
The classic volume blowout is the gold standard for mid-length hair. It focuses on maximum lift at the roots and a soft, rounded finish at the ends. This style is perfect for those with fine hair who want to create the illusion of thickness.
- The Technique: Use a large-diameter round brush. Focus the heat at the roots while pulling the hair straight up toward the ceiling.
- The Finish: The hair should bounce when you walk, with the ends curving gently toward the collarbone.
- Pro Tip: Apply a volumizing mousse to damp hair before you even pick up the dryer.
2. Sleek Polished
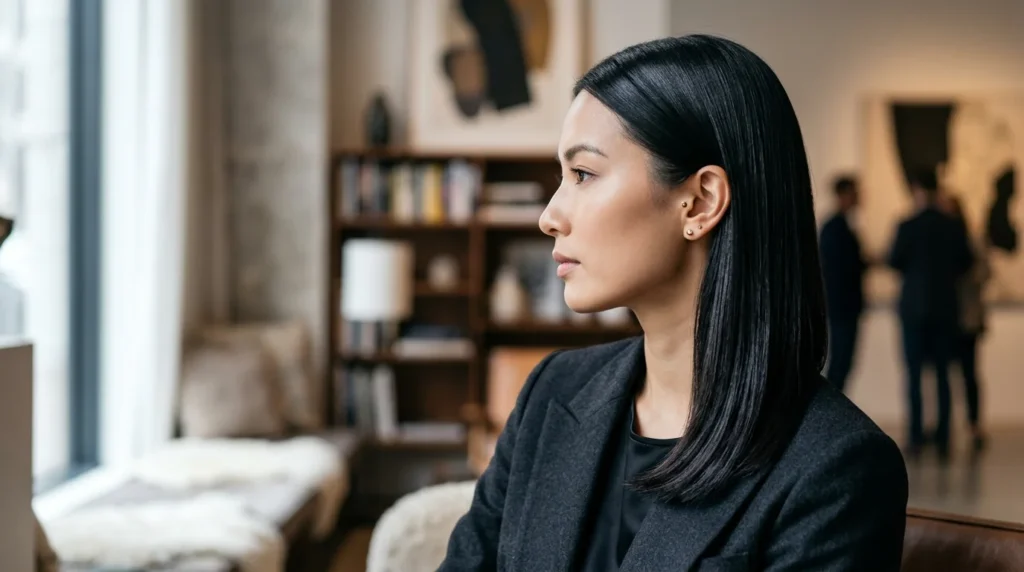
Not every blowout needs to be about height. The sleek, polished look is all about shine and precision. This style works exceptionally well for blunt cuts, emphasizing the clean lines of your hair.
- The Technique: Direct the airflow of the dryer downward from roots to ends to flatten the cuticle. Use a boar-bristle brush to create tension and pull out any natural frizz.
- The Finish: A glass-like surface that reflects light.
- Pro Tip: Finish with a lightweight shine spray or a drop of marula oil to seal the ends.
3. Retro Flip

The “flicked-out” end is making a massive comeback. Inspired by the 1960s and revamped in the 90s, this style is playful, youthful, and incredibly easy to achieve on mid-length hair because the ends naturally hit the shoulders.
- The Technique: Blow dry the top as usual, but when you reach the bottom two inches of each section, wrap the hair around the brush and curl it upward and outward.
- The Finish: A bouncy, structural “U” shape at the bottom of the hair.
- Pro Tip: Use a shot of cool air from your dryer while the hair is wrapped in the “flip” position to set the shape.
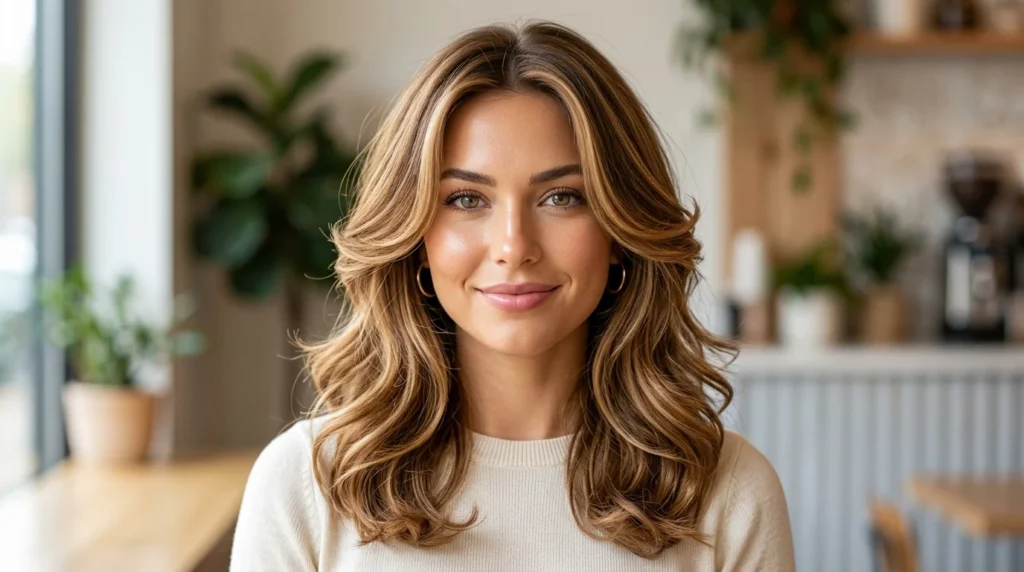
4. Soft Waves
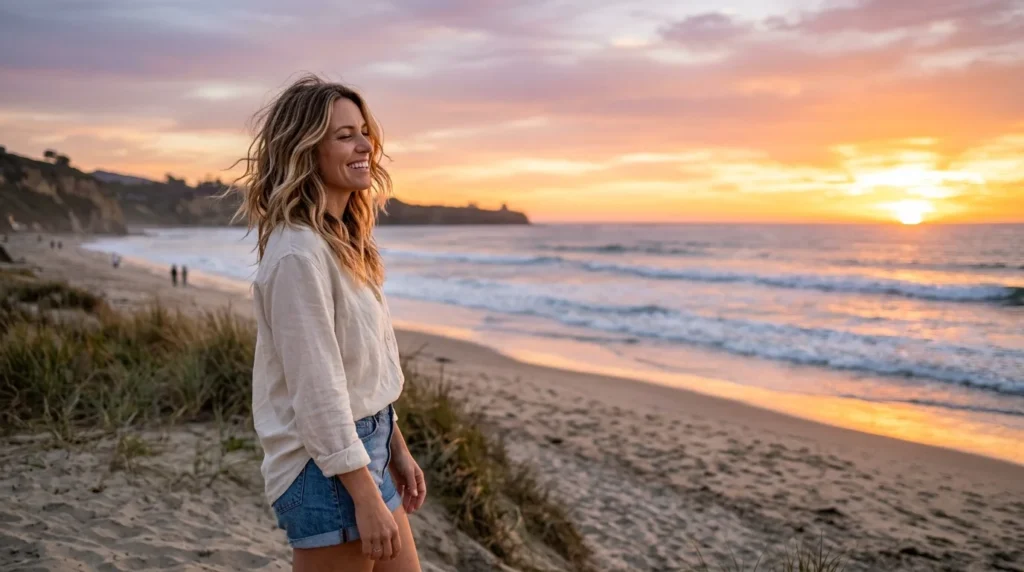
If you want a look that says “I woke up like this” (even if it took 30 minutes), soft waves are the answer. This style bridges the gap between a straight blowout and a curling iron set.
- The Technique: Use a medium-sized round brush. Instead of pulling straight, twist the brush as you pull through the length of the hair, creating a spiral motion.
- The Finish: Loose, organic waves that start from the mid-shaft down.
- Pro Tip: Once finished, shake your head upside down and run your fingers through the hair to break up the curls for a more natural look.
5. Parisian Texture
The “French Girl” aesthetic is all about intentional imperfection. This blowout style avoids looking too “done” and instead focuses on a matte, piecey texture that feels incredibly chic.
- The Technique: Rough dry the hair until it is 80% dry. Use a brush only on the top layers and around the face. Leave the bottom layers to dry with their natural movement.
- The Finish: A slightly disheveled, voluminous look with plenty of movement.
- Pro Tip: Use a dry texturizing spray at the roots and mid-lengths to give the hair “grip” and a matte finish.
6. Curtain Bangs
If you have curtain bangs or face-framing layers, the blowout is the most critical part of your styling routine. This style focuses on “opening up” the face by sweeping the hair back and away from the eyes.
- The Technique: Blow dry your bangs forward over your face using a round brush, then blast them backward. This creates a “C” shape that hugs the cheekbones.
- The Finish: A soft, winged effect that frames the eyes and highlights the bone structure.
- Pro Tip: Use a Velcro roller on your bangs while you finish the rest of your hair to ensure the volume lasts all day.
7. Hollywood Glamour
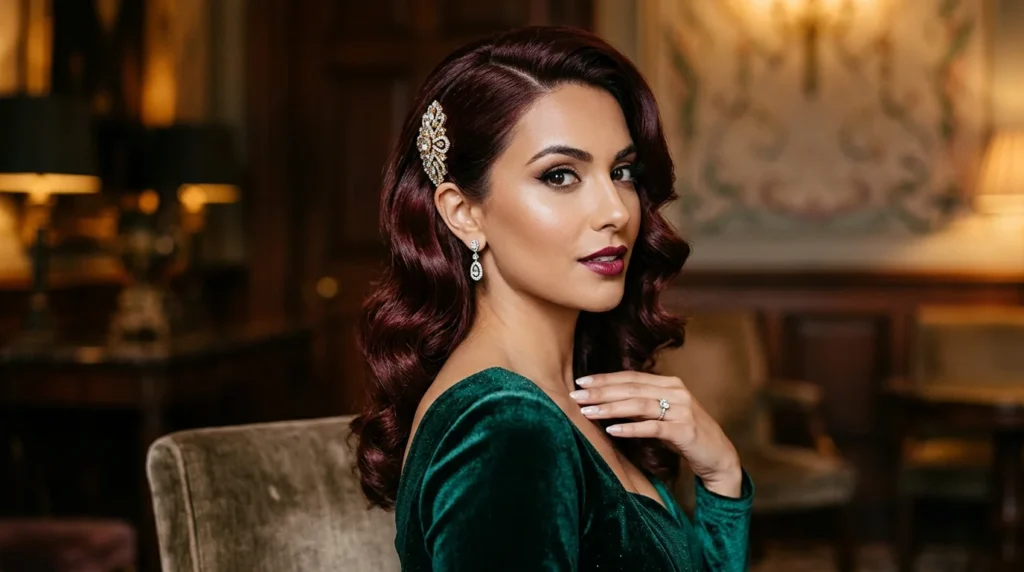
Who says you need long hair for vintage waves? The “Old Hollywood” blowout is stunning on mid-length hair, creating a sophisticated and timeless silhouette.
- The Technique: Blow dry hair in one direction. Once dry, use the round brush to create tight curls and pin them to your head to cool.
- The Finish: Uniform, “S-shaped” waves that flow together.
- Pro Tip: Brush through the curls with a soft paddle brush to merge them into a single, cohesive wave.
8. Shaggy Layers
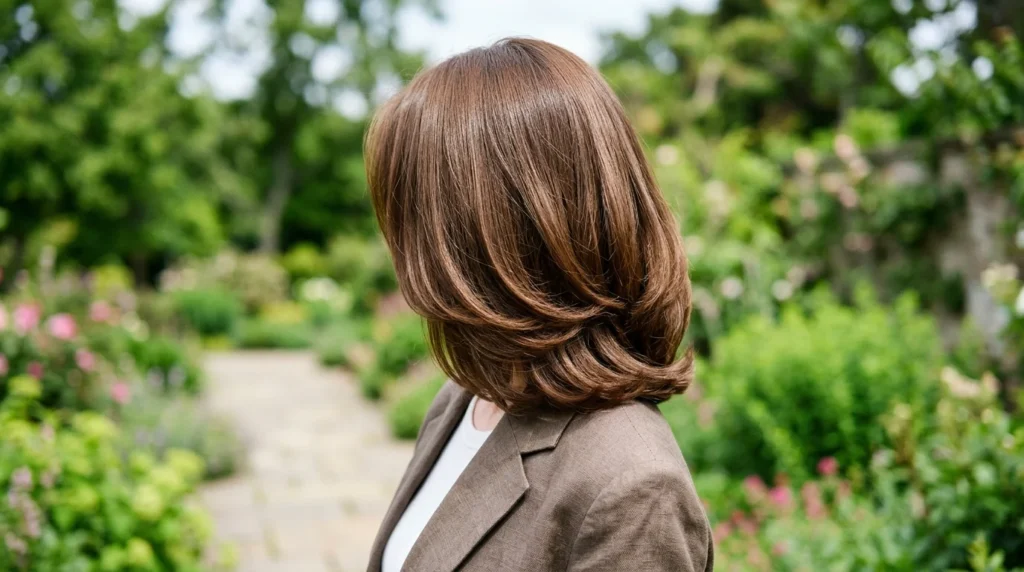
For those with a modern shag or a “wolf cut,” the blowout should emphasize the layers rather than hiding them. This style is edgy, energetic, and full of life.
- The Technique: Blow dry in various directions to encourage the layers to pop out. Use a smaller round brush to add “bend” to the shorter layers.
- The Finish: A multi-dimensional look where every layer is visible and textured.
- Pro Tip: Apply a small amount of styling wax to your fingertips and “pinch” the ends of the layers to define them.
9. Inner Curves

The “C-shape” or internal curve blowout is the opposite of the retro flip. This style hugs the face and neck, creating a very soft and feminine look.
- The Technique: Always keep the brush on the inside of the hair, curving the ends toward your chin and neck.
- The Finish: A smooth, tucked-in appearance that looks very tidy and professional.
- Pro Tip: This look is best achieved with a heavy-duty leave-in conditioner to ensure the ends stay soft and pliable.
10. Side Sweep
Sometimes, all you need to change your look is a change in part. The side-swept blowout is dramatic, asymmetrical, and perfect for a night out.
- The Technique: Create a deep side part while the hair is wet. Blow dry the side with more hair “up and over” to create a dramatic wave.
- The Finish: One side is sleek (perhaps tucked behind the ear), while the other side is a mountain of volume and curls.
- Pro Tip: Use a strong-hold hairspray on the “roots” of the voluminous side to keep the height from falling throughout the evening.
Mastering the Effortless Blowout at Home
To achieve these styles, you don’t always need a professional stylist. However, you do need the right foundation:
- Preparation is Key: Never start blow-drying soaking wet hair. Towel dry or rough dry until it’s about 70% dry before you start styling with a brush.
- Sectioning: It may seem tedious, but sectioning your hair into at least four parts (bottom, two sides, and top) ensures that every strand gets the heat and tension it needs.
- The Nozzle Matters: Always use the concentrator nozzle that came with your hair dryer. It directs the airflow precisely, preventing the “frizz cloud” that occurs when air blows in every direction.
- The Cooling Phase: Heat shapes the hair, but cool air sets it. Always use the “cool shot” button for 5-10 seconds on each section before moving on.
With these ten styles and a bit of practice, your mid-length hair will never feel boring again. Whether you choose the 90s bombshell volume or the sleek Parisian texture, the perfect blowout is your ultimate accessory.